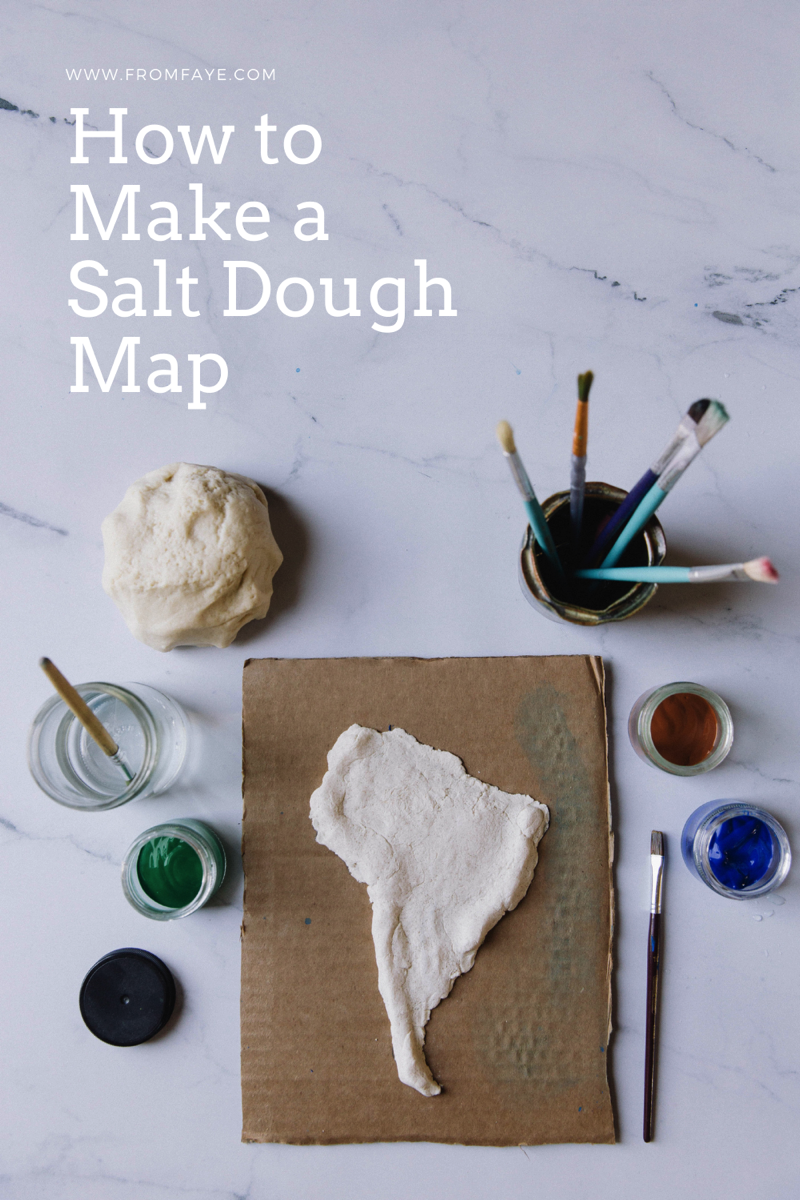
Salt dough maps are a classic homeschool project that have become a staple for us as we studied world history this year. They are a creative and hands-on way to explore geography, but they are also incredibly simple to make with things you already have at home!
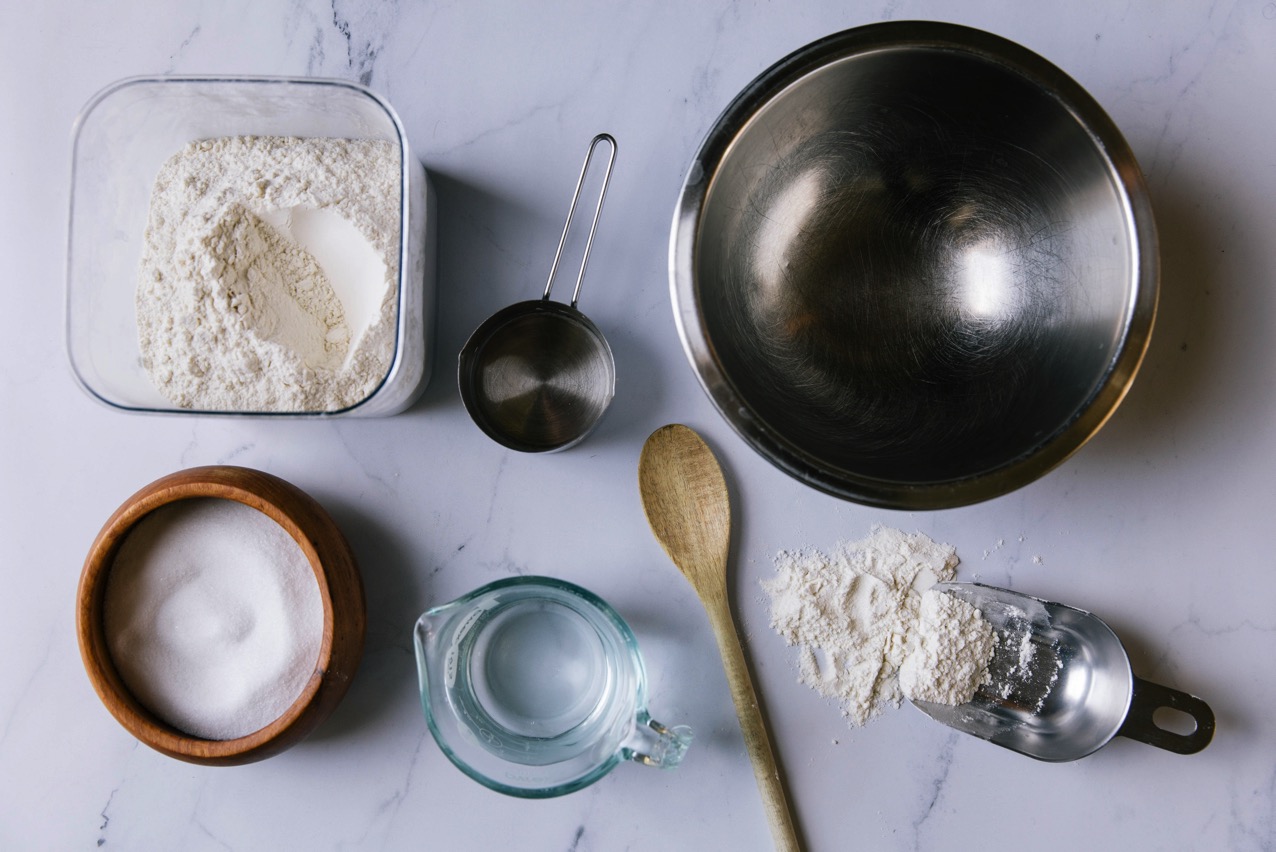
You will need:
- A cardboard scrap for your map base. (I find that the flaps of a medium sized cardboard shipping box are just about the perfect size.)
- A traceable template of your country or continent (template linked below)
- A relief map to refer to when shaping and painting the dried dough
- Scissors
- 2 Cups of flour
- 1 Cup of salt
- 1 Cup of warm water
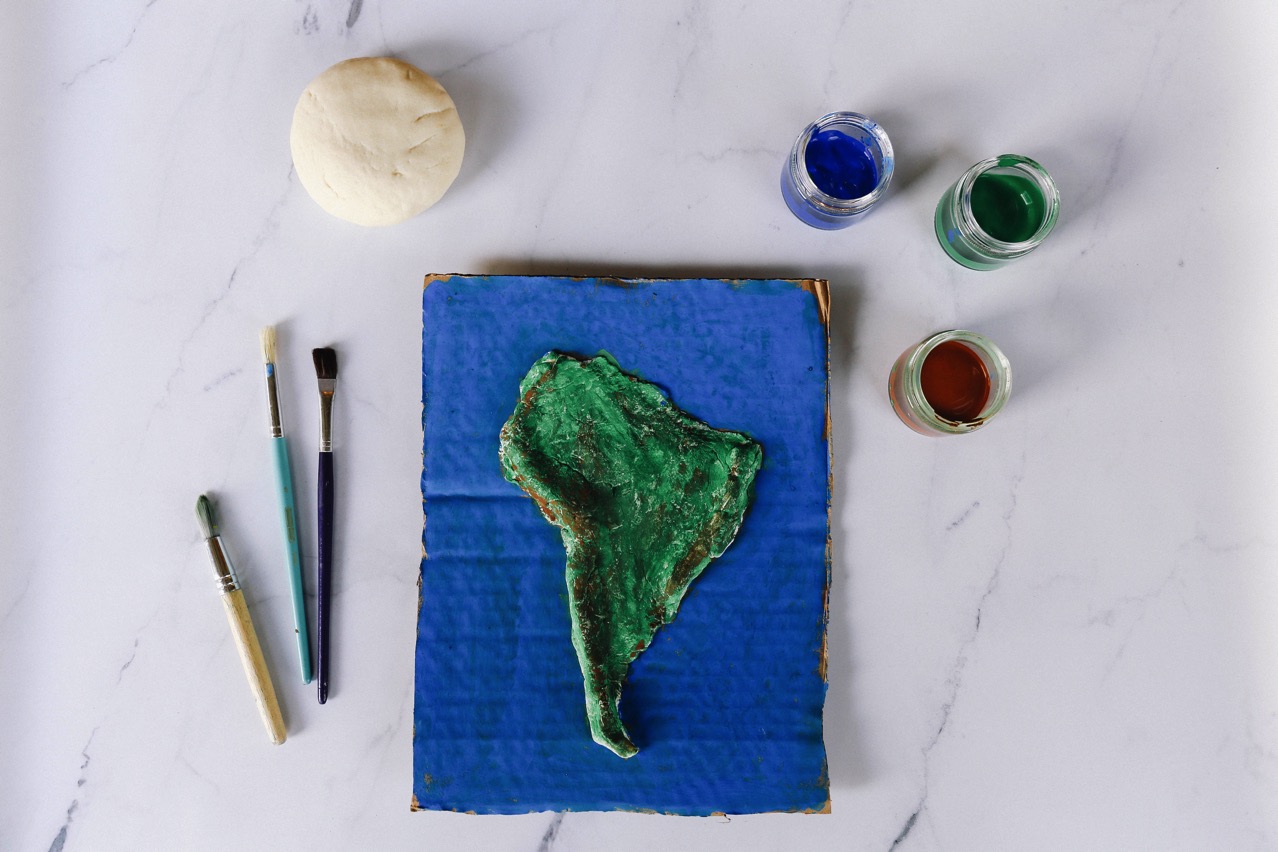
- Blue, green and tan paint

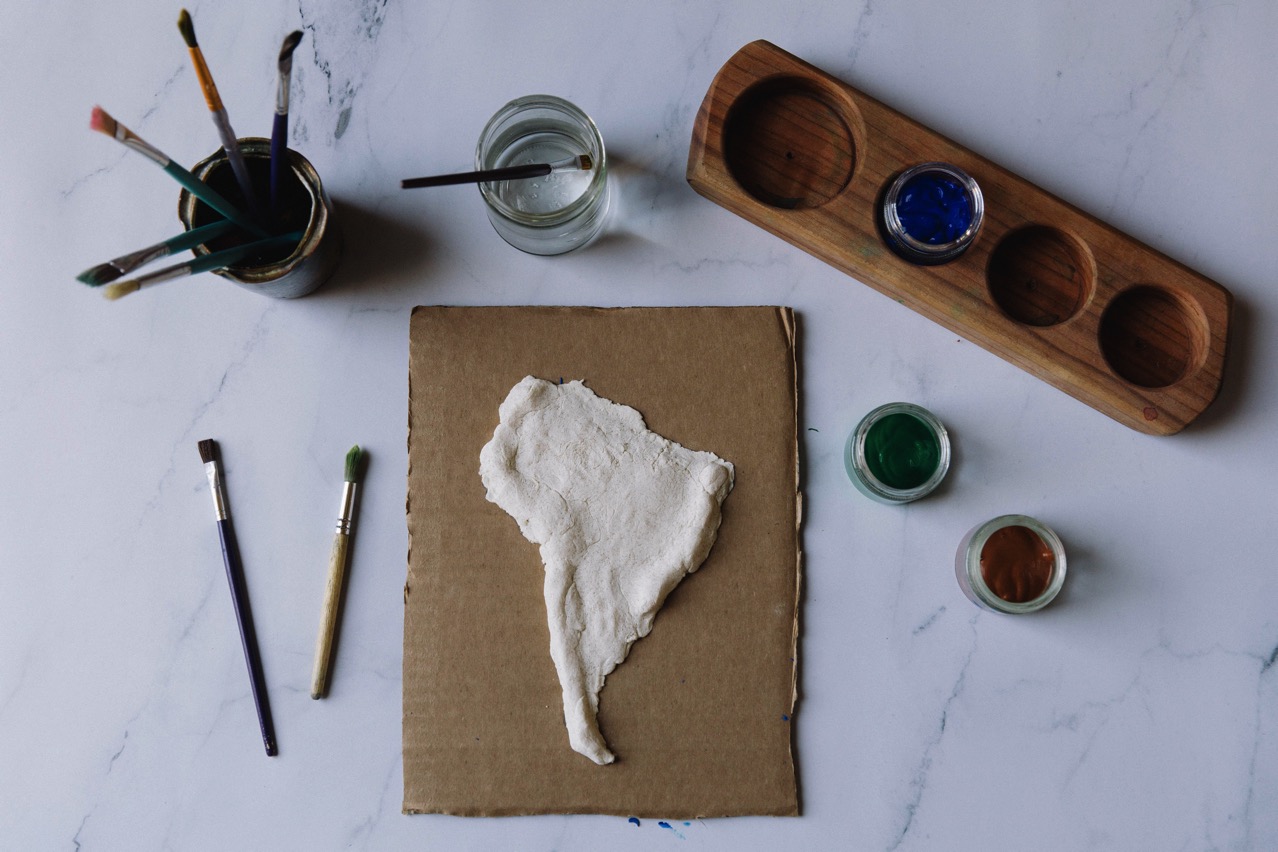
4.) Once your masterpiece is complete, the maps can be laid in a safe place to dry for 24-48 hours. If you want to speed up the process, you can place it on a cookie sheet inside an 200 degree oven for 2-3 hours.
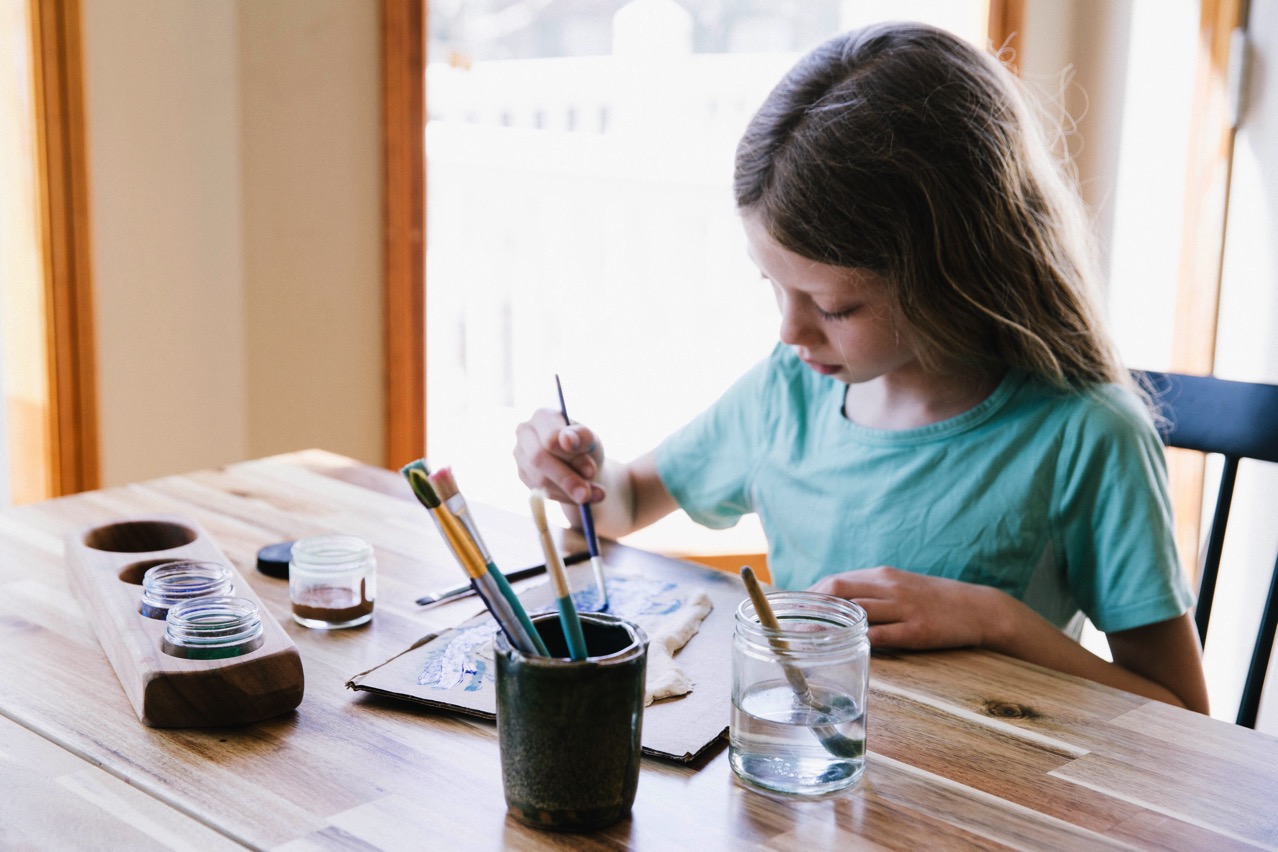
5.) When the dough has hardened, you’re ready to paint! We use washable tempura paints for this part (I recommend these!) When you are finished, use a black felt tip pen (like these) to label your map.
Once you try this you’ll want to make more! I hope you have found a little beauty to inspire and encourage you as you homeschool well today!
If you liked this, I’d love for you to share it on Facebook or Instagram, or save it to your Pinterest boards for later!
If you’re looking for ways to make your homeschooling day more peaceful, check out this post about our daily anchor method! Overwhelmed and want to simplify your planning? Check out this post on our homeschool planning schema.
If you’re brand new to homeschooling and not sure where to start, take my free course for beginners, The Simple Start Mini Course!
You can find all of our favorite homeschool resources including curriculum and must-have supplies listed here!
To see all of my homeschooling posts in one spot, click here.
You can also find more of my handcrafts and projects in the following books by Harper Collins:
Wild and Free Handcrafts: 32 Activities to Build Confidence, Creativity and Skill
For candid thoughts on faith, motherhood and homeschooling, subscribe to my Substack newsletter!